In previous posts, we looked at how to set up SonarCloud code analysis for Salesforce using automatic analysis, as well as GitHub Actions to trigger scans from a CI job. Show the results of code analysis once changes are merged to a shared branch is great, but ideally develops are getting and incorporating this feedback earlier in the development process.
Next we explored options to integrate SonarCloud code analysis, including Apex code coverage, into GitHub pull requests.
In this post, we will continue to “shift left” and bring the Sonar analysis directly into the developer’s IDE, typically VS Code in the case of Salesforce projects.
Prerequisites
In order to use the workflow below, you should have completed the following steps from the introductory post on integrating SonarCloud with Salesforce projects:
- Create a SonarCloud account and import the GitHub project
- Add the
SONAR_TOKENsecret to your repository - Configure analysis parameters by adding the sonar-project.properties file to the GitHub project
In addition, you should have the ability to develop Salesforce projects on your local machine:
- Salesforce CLI, Salesforce extensions for VS Code and related dependencies installed and configured on your machine. See step-by-step instructions for setting up Salesforce development on Windows machines.
- Salesforce org with the DevHub feature enabled (developer or enterprise and up). Sign up for a free developer edition org here.
Set up SonarLint for VS Code
Gather SonarCloud Resources
Navigate to sonarcloud.io and log in with your GitHub credentials.
Click on the Information link in the left navigation and copy the following values from the right side of the page:
- Organization Key
- Project Key
Navigate to User → Account → Security and generate a new token (copy the token to use when configuring SonarLint)
Enable Connected Mode
Install the SonarLint extension from the VS Code marketplace.
Most languages supported by SonarLint can be scanned directly in the IDE without setting up and connecting to a remote SonarCloud or SonarQube implementation. With Apex, however, SonarLint must operate in “Connected Mode” so that it can leverage the rules and scan logic from the server. In this example, we will connect SonarLint to the SonarCloud implementation we configured in the previous posts.
In VS Code
- Navigate to Code -> Preference -> Settings
- With the “User” tab selected, search for “Sonarlint”
- Click “Edit in setting.json” for the setting called
sonarlint.connectedMode.connections.sonarcloud - Add the following block of text between the brackets for this setting, updating with the values you just copied from SonarCloud:
{
    "organizationKey": "your-organization-key",
    "token": "your-token"
}
Connect to SonarCloud Project
Rules can be configured on a project-by-project basis in SonarCloud, so the SonarLint extension needs to know which SonarCloud project corresponds to the Salesforce project you are developing in locally.
There are two approaches to configuring this setting in VS Code
Option 1: Using Workspace Settings
In VS Code, a workspace is a collection of one or more root-level folders that are opened in a VS Code instance. The main use case is to configure settings that apply to multiple root-level folders (typically projects), but not all folders that could be opened in the VS Code instance.
When you create a workspace, a .code-workspace JSON file is created to save the paths to the root-level folders that should open in the workspace. When you configure workspace settings, the settings are saved to this file.
To connect the SonarCloud Project to a workspace, do the following
- Navigate to Code -> Preferences -> Settings
- Select the “Workspaces” tab and search for “sonarlint”
- Click “Edit in settings.json” for the setting called
sonarlint.connectedMode.project - Replace “null” with the following block of text, updating with the value you just copied from SonarCloud:
{
    "projectKey": "your-SonarCloud-project-key"
}
Option 2: Using Project Settings
This is typically the approach I use since most of the time I have a one-to-one mapping of SonarCloud projects, with local project folders.
Add the following text to .vscode/settings.json in the local project:
{
    "sonarlint.connectedMode.project": {
        "projectKey": "Your-SonarCloud-ProjectKey"
    }
}
Note that you will want to add the .vscode directory to your project’s gitignore if it is not already added.
Using SonarLint Features
Review highlighted issues in the editor by hovering over code with yellow underline

Use Problems panel to review issues
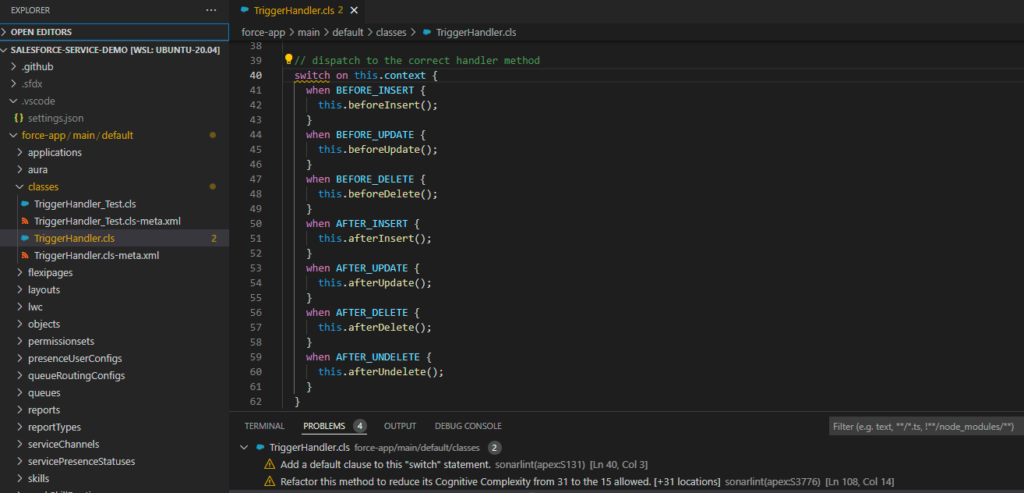
Review rule descriptions by clicking on lightbulb icon next to line number with the problem

Summary
This post covered how to use SonarLint in VS Code to view Apex scan results in the local IDE. If you are using another IDE, you can get similar Apex scan results using PMD, which doesn’t rely on a remote server. Salesforce also provides a custom set of rules for ESLint which provides similar scanning capabilities for JavaScript components.
Resources
- SonarLint: Marketing Site for VS Code Extension
- SonarCloud Documentation: User Guide
- SonarSounce: Apex rules


